Hello, and welcome to our quick how-to-use Canva content planner guide! This nifty little tool can be a game changer for your content strategy.
Canva is famous for a reason: it’s simple, efficient, and easy to use. The interface is straightforward, and the features are user-friendly. No wonder it’s one of the most popular design programs out there! But Canva can do more than help you create stunning visuals. It can also be a powerful content planning tool – if you know how to use it.
In this post, we’ll show you how to use the Canva content planner so you can plan and design your content like a pro! Ready to learn more? Let’s get started!
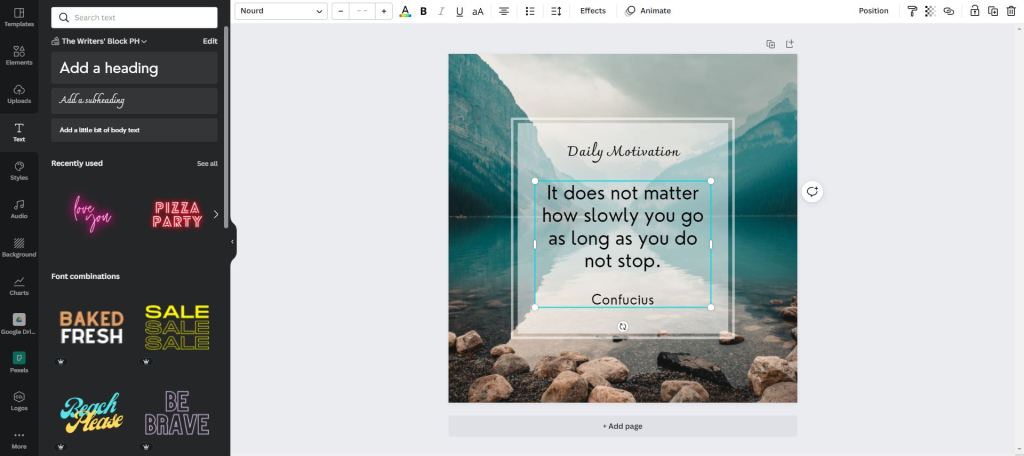
Choose Your Template
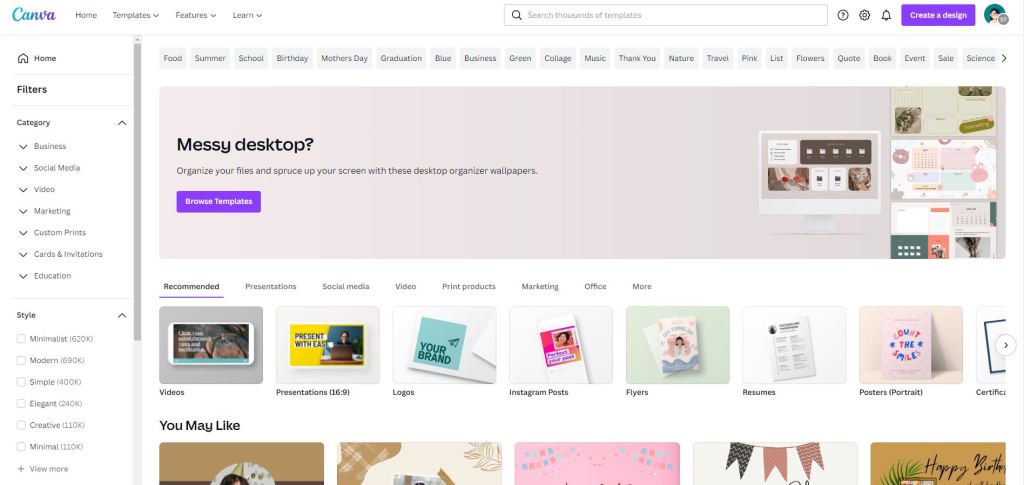
The first step is to choose a template. Canva offers a range of templates for different social media platforms, including Facebook, Instagram, Twitter, and Pinterest.
You can also select from a mix of specific content types, such as blog posts, infographics, social media posts, and more.
Once you’ve selected a template, you can start customizing it to suit your needs.
Add Your Content
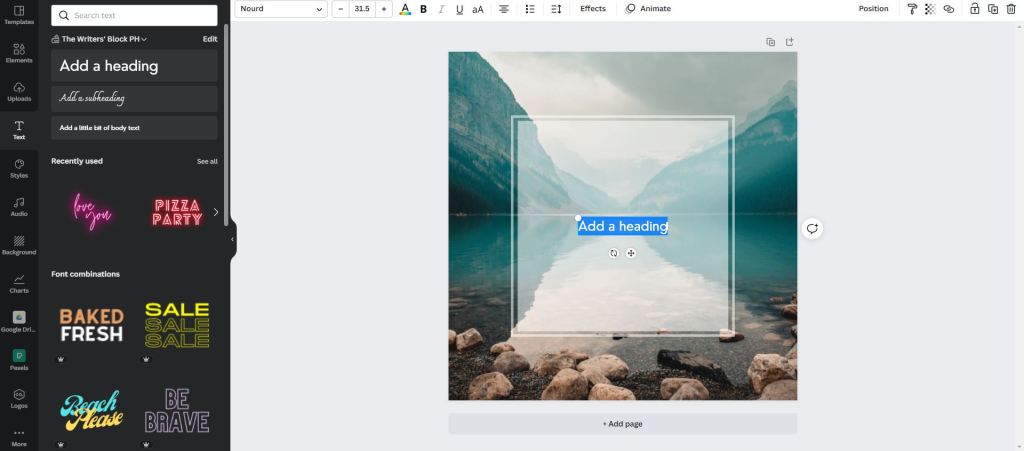
It’s time to add your content once you’ve picked a template. Canva makes it simple to incorporate text, photos, videos, and other elements into your design.
Click on the element you want to add and then upload or select the content you want to use.
You can also add links, call-to-actions, and other components to make your design more interactive.
Edit Your Design
Once you’ve added your content, you can edit it to make it look exactly the way you want.
To modify an image, first click on it, then from the toolbar that opens, select “Edit.” Crop, rotate, and edit the photo from there.
To edit a video, click on the video and then click on the “Edit” button in the toolbar that appears. After that, you can trim the video or add text overlays.
Save and Share Your Design
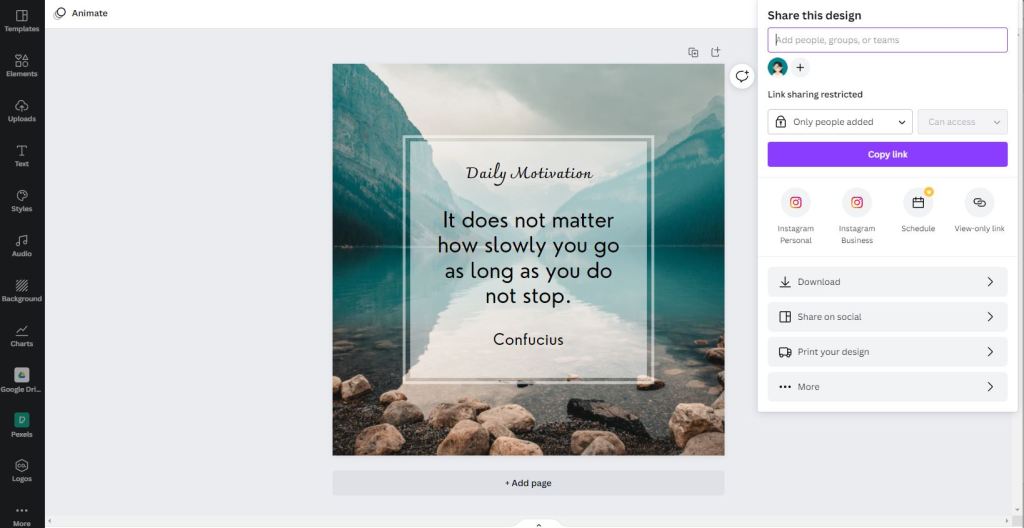
Once you’re happy with your design, click the “share” button in the top right-hand corner. Canva will then give you different options. You can publicly share your design with different access: anyone with the link can view, comment, or edit.
You will also have quick links to the template, to the presentation, to the studio where you can present and record as well as to the view-only access.
Further down, you have the options to download, share on your (connected) social media accounts, print your design, and so much more!
Schedule Your Content
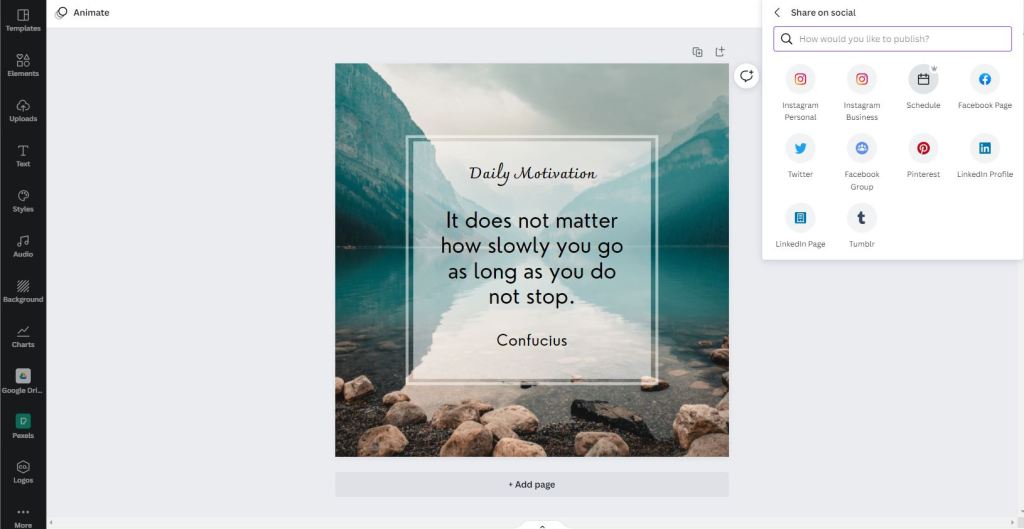
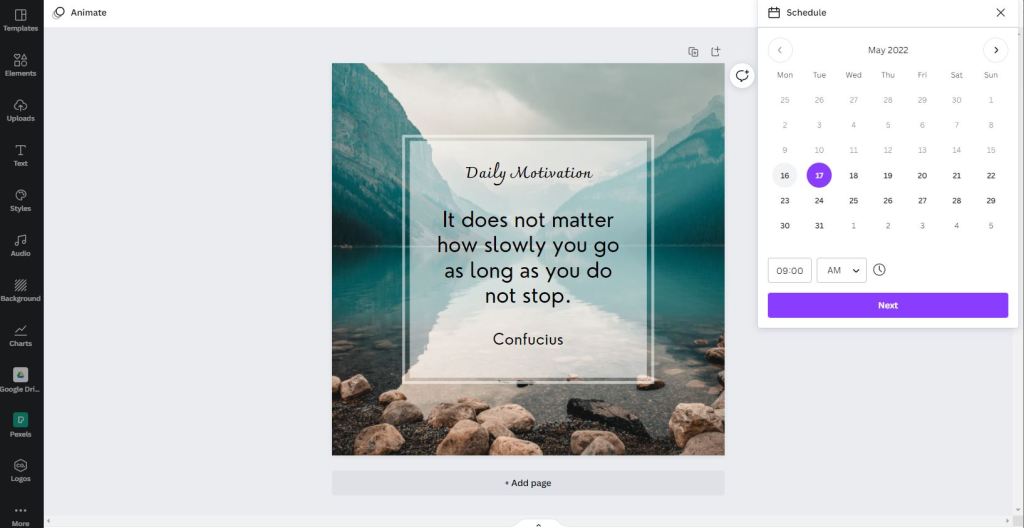
Now here’s the really cool part: you can use Canva content planner to schedule your content!
If you’re planning on sharing your content on social media, Canva makes it easy to schedule your posts. Just click the “share” button then share on social and you can select the “schedule” option. However, please note that this option is only available on the Canva Pro Plan and you must connect your pages/accounts before you can schedule.
[This post contains a Canva affiliate link. We may receive a commission for purchases made through this link. We love Canva! Our team personally and professionally uses Canva for just about everything graphics and then some!]
From there, you can choose when you want your content to be published. Canva will then automatically post your content at the specified time.
Analytics and Insights
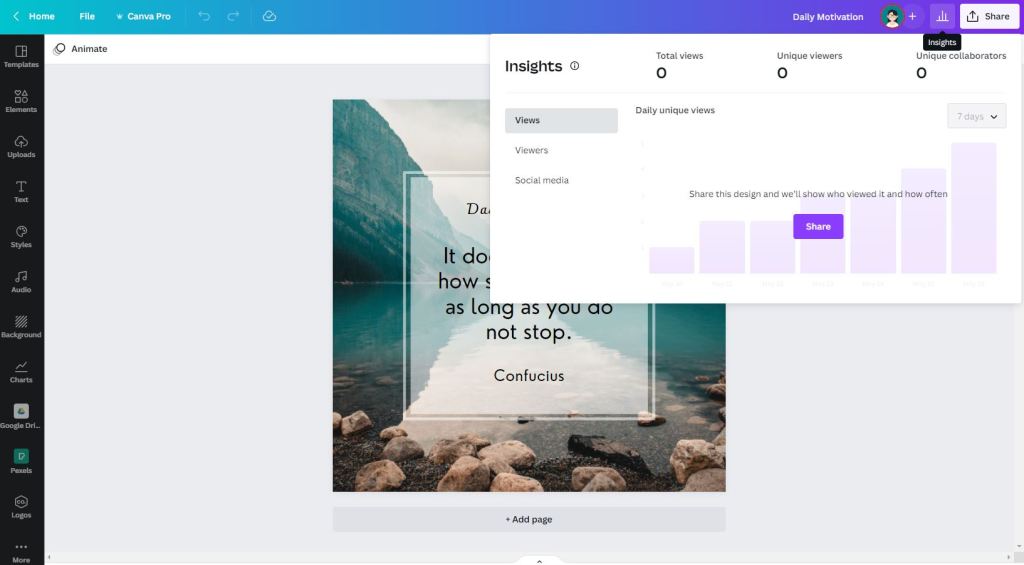
Canva also provides a variety of stats and insights to help you track the performance of your content. Click the “insights” tab on the top menu to access these features.
You can see how many people have viewed your design, how long they spent looking at it, and where they came from. You can also see which elements of your design are getting the most attention.
This information can aid you in determining what content is resonating with your audience and what isn’t.
So what are you waiting for?
If you have not tried the content planner yet, we strongly advise you to give it a try. It is a great platform that will help you keep on track and organized while saving time.
But always remember that the Canva content planner is just one tool that can help you create excellent content. Be sure to experiment with different techniques and strategies to find what works best for you and your team. With some practice, you will be churning out high-quality content like a pro in no time!
What are your thoughts? Do you know how to use Canva Content Planner now?
Please let us know what you think in the comments section below!
Running a business and managing your social media? That’s a lot to juggle.
Consistency is key, but content creation can be time-consuming and overwhelming.
That’s where our DFY Social Media Bundle comes in, designed to help busy business owners, freelancers, and teams show up online with confidence and ease.
✅ WHAT’S INCLUDED:
📅 Monthly Social Media Content Calendar
A full month of strategic post ideas to engage your audience, build trust, and boost visibility from educational tips and value posts to fun facts and community-driven content.
🎨 12 Professionally Designed Graphics (Fully Editable in Canva)
Scroll-stopping visuals for platforms like Facebook and Instagram. Just add your logo, tweak if needed, and post away. No design skills required.
💬 Done-for-You Captions + Hashtag Vault
Skip the blank-page struggle. Each graphic comes with a ready-to-use caption and curated hashtags making your posting process faster and easier than ever.
📈 Engagement-Driven Content Themes
From behind-the-scenes moments to seasonal reminders and authority-building posts, everything is crafted to help you stay visible without burning out.💡 Perfect For:
✔️ Entrepreneurs who want to stay active online without the content stress
✔️ Virtual assistants or team members managing social media
✔️ Coaches, creatives, service pros, and small business owners
✔️ Anyone who wants to simplify their content while keeping it impactful
Discover more from The Writers' Block PH
Subscribe to get the latest posts sent to your email.
